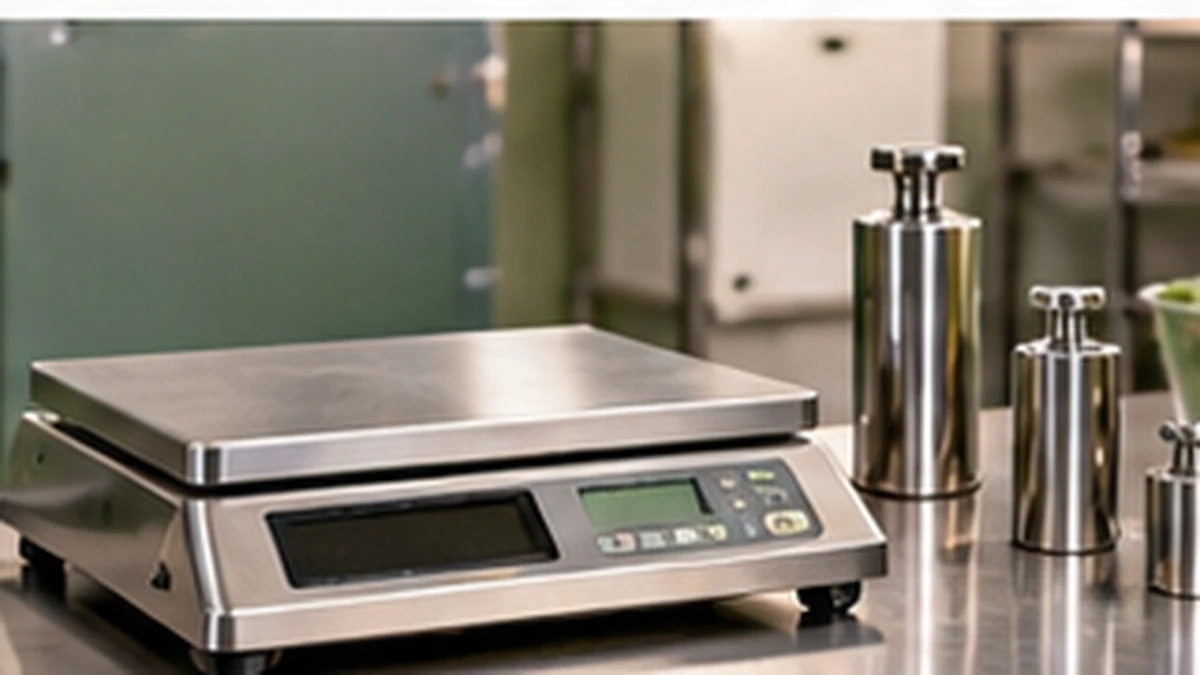
To grade produce by size the same way every time, use a fixed gauge: sizing rings or a sizing board for round items, calipers for odd shapes, and labeled sorting trays or bins for each class. Add good light and a clear table, and train everyone on the same samples. A scale then checks weights after sorting, but it cannot sort for you.
This is the step before the packing scale. It covers gear for sorting by size and appearance for produce, herbs and small-farm crops. It does not give official grade standards, which vary by crop and buyer; get those from your buyer or from the USDA Agricultural Marketing Service if a grade is required.
Why gauges beat eyeballing
Two people sorting by eye will disagree, and one person will disagree with themselves by the afternoon. A fixed gauge turns a judgment call into a yes or no: the item passes through the ring or it does not. That gives consistent packs, fewer customer complaints and a clear reason when a buyer questions a size.
Gauges also train new helpers. Hand someone a ring and a sample tray and they can match the standard in minutes, instead of learning by trial and error across a whole harvest.
Gauges also protect your relationship with buyers. If a restaurant says last week's order ran small, you can show the ring you sorted with and agree on the standard together, rather than arguing from memory. Write the class names and their gauges on a card by the table so the standard is never in one person's head.
Sizing rings and boards
A sizing ring is a hoop with a fixed inside diameter. Round produce such as onions, tomatoes, beets, radishes, turnips, potatoes and fruit are tested by whether they pass through or stay on top. A set of rings in graded sizes marks the steps between classes. A sizing board has holes cut in a flat panel and does the same job for a batch.
- Fixed rings: simple and cheap. Look for a clean inside edge and a size marked on the ring.
- Adjustable rings: change diameter with a screw or slider. Handy for crops where the size class changes by season; check they hold the setting.
- Sizing boards and plates: several holes in a row. Quick for a batch, but check for hole edges that bruise.
- Material: metal lasts, smooth plastic is lighter and gentler on skin. Either should wipe clean and have no burrs.
- Marking: size marked on the gauge in a way that survives washing.
Pick the sizes that match your buyer's classes, not a catalog set. If a restaurant wants a certain size range and a market customer prefers another, buy rings for those. Check the listing for the stated diameter and for whether it is inside or outside measure. This guide quotes no sizes because they depend on the crop and your market.
Check the diameters on the listing, whether they are inside measure and how the edge is finished. Used gauges are fine if clean and undamaged.
Calipers and measuring tools
Some crops are not round. Carrots, cucumbers, zucchini, parsnips and asparagus are graded by length and thickness, not by a hoop. Calipers and a ruler or a marked board do that job.
- Digital calipers: read to a fine precision and are fast. Check they are sealed from water, since packing rooms are damp, and carry spare batteries.
- Dial calipers: no battery, but harder to read quickly.
- Go/no-go gauges: a notch cut in a board that an item passes or does not. Fast for a repeated size.
- Length boards: a flat board with a stop at one end and marks for each class.
- Keep it clean: wipe tools after use. A tool that touches produce is food-contact equipment; check the maker's cleaning notes.
Digital tools can drift or lose calibration if dropped. Check against a known standard once in a while, and replace a tool that does not read the same twice. A scale checks weights, and the bench scale guide covers scales for packing. The bench scale versus floor scale comparison shows which scale suits bigger loads.
Sorting trays, bins and tables
Once you have a gauge, you need somewhere to put each class. Labeled trays or bins for each size, plus a cull bin, keep the line moving. A grading table gives you a flat, well-lit place to work.
| Gear | Use | Check |
|---|---|---|
| Shallow sorting trays | One per size class on the table | Smooth inside, stackable, easy to wash |
| Stackable bins or totes | Hold sorted product before packing | Size, stacking, labels; see the guide to stackable totes |
| Grading table with raised edge | Lets product roll or slide without falling off | Edge height, surface finish, height for the worker |
| Slanted or roller table | Moves product past the sorter by gravity or by hand | Slope, roller spacing, cleaning |
| Cull and seconds bins | Separate unsellable and second-grade product | Marked clearly, so culls do not return to the line |
| Sample tray | Holds the standard items for each class | Kept where everyone can see it |
The stainless work table guide covers table choices, and the stackable tote guide covers bins. Rolling and slanted tables can be bought or built; if you build one, make sure surfaces are smooth and washable, and follow the maker's notes for any bought parts.
Lighting and setup
You can only sort what you can see. Put the table under even light with soft glare, so color differences and blemishes show up. The work light guide explains lumens, CRI and wet-location ratings. Stand or sit at a height that lets you see the whole surface without bending, and keep the cull bin within reach so culls are never put back.
- Put the unsorted product on one side and sorted bins on the other, so the flow runs one way.
- Use a sample tray: one item at the upper and lower limit of each class, on view.
- Keep waste or cull bins away from clean product.
- Rotate the sorter every so often. Judgment drifts when you do the same task for hours.
Compare tray size and stacking, caliper sealing and the height and edge of a grading table. Used stainless tables and trays are fine if clean and free of dents.
From sorting to packing
Sizing sets the class, and packing finishes the job. Fill packs from one size class at a time, then weigh them if you sell by weight. Selling by weight is regulated in many places, so check what scale and labeling your local weights and measures office wants. Match the packaging to the size class; the produce packaging guide compares clamshells, bags and boxes.
- Write down your size classes and what each one is for (market, restaurant, seconds).
- Make the classes simple. Three or four classes are easier to run than seven.
- Check a sample from each pack against the gauge before it leaves.
- Keep a record of what you sold by class, so you can see which sizes your buyers want next year.
Frequently asked questions
What is a produce sizing ring?
A sizing ring is a hoop with a fixed inside diameter. Round produce either passes through or stays on top, which gives a repeatable size class without judging by eye.
Do I need calipers or sizing rings?
Rings or boards suit round items, and calipers or length boards suit long or irregular items such as carrots and cucumbers. Many farms use both.
How many size classes should I use?
Keep it simple. Three or four classes that match your buyers are easier to run than many. Ask your buyers which sizes they want.
Where do I find official grade standards?
Ask your buyer first. If a USDA grade is required, the USDA Agricultural Marketing Service publishes grade standards. This guide does not state any.
How do I train a crew to grade consistently?
Use a sample tray with an item at each limit, give everyone the same gauge and rotate sorters. Check a few packs against the gauge before they leave.
Sources and verification
This guide is buying advice about grading and sorting equipment, based on common packing-room practice rather than a single source. No size classes, grade standards or measurement tolerances are quoted. Get grade requirements from your buyer or the USDA Agricultural Marketing Service, check each listing for stated diameters and materials, and ask your local weights and measures office about rules for selling by weight.