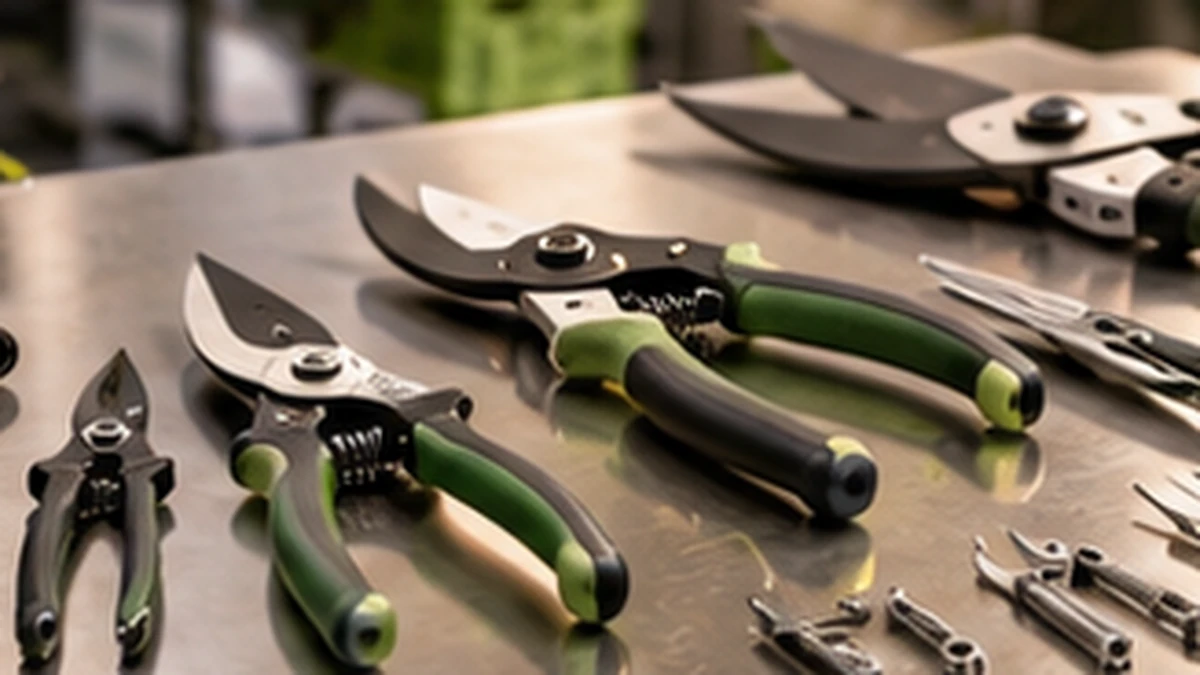
Clean first, dry completely, oil bare metal lightly, then store everything dry, off the floor and out of the weather. That order matters: oil on top of dirt locks grime against the metal, and putting damp tools in a shed is how rust starts. Season end is also the best time to find the cracked handle or loose pivot that would otherwise fail on the first busy day next year.
Sharpening is its own job, covered in the sharpener guide. This guide covers everything around it: what each item needs, which supplies to have on the bench and where each piece should spend the winter.
Set up one cleaning bench
Doing the whole kit in one sitting is faster than doing a tool at a time. Clear a table, lay out a towel, and gather what you need before you start. A short supply list covers nearly everything.
- A bucket or tub of warm water and a mild dish soap, plus a stiff brush for dirt and a soft brush for fine joints.
- A pile of clean, dry rags or towels. Dry is the point.
- A fine abrasive pad for light surface rust on bare steel. Use it gently and only on surfaces the maker says can take it.
- A light oil for bare metal. If the tool touches food, such as a harvest knife, pick an oil whose label says it is suitable for food-contact tools.
- Small containers for loose screws and pivot bolts, so nothing disappears down a drain.
- Tags or tape for anything that needs repair, so it does not go back into the pile.
Before you start, read the care label or manual for anything that is not a plain steel hand tool. A care label always beats a general guide, and cleaning products should never be mixed together. If a product label says to rinse, rinse.
Step 1: Inspect before you clean
A dirty tool hides defects, but a clean tool is easier to check, so give each item two looks: a quick one before cleaning, to spot damage that might change how you handle it, and a careful one afterwards.
- Pivots and bolts: check for play, sticking or a worn spring. A shears pivot that wobbles will not cut cleanly even with a sharp edge.
- Handles: look for splits, loose grips and rough spots that rub the hand.
- Edges: look for chips and rolled edges. Mark them for the sharpening step rather than fixing them mid-clean.
- Containers: look for cracks, split corners and warped bases. A cracked tote can harbor dirt that is hard to wash out.
- Cords and electronics: scales and sealers with frayed cords or damaged housings go to the repair list, not back on the shelf.
Step 2: Clean each group the right way
Cutting tools: knives, shears, snips
Scrub off soil and plant residue with warm soapy water, working away from the cutting edge. Open shears fully and clean around the pivot. For sticky sap, use the cleaner the tool maker recommends rather than whatever is under the sink. Dry every surface at once with a towel; do not leave tools to air-dry on a damp bench. The cleaning brush guide helps you choose brushes that reach into joints without scratching.
Buckets, totes and crates
Brush out soil from corners and handle slots, wash, rinse and let them drain upside down. If a container touches food that you sell, follow the label of your cleaner or sanitizer and any local rules for food-contact surfaces, and do not improvise a mixture. Make sure each one is fully dry before stacking, because trapped moisture between nested containers is a good place for mold. The stackable tote guide explains what to look for in a washable tote.
Scales and electronics
Wipe housings with a lightly damp cloth, never a spray directly onto the unit, and check the manual for what the maker allows. Clean the weighing platform and feet, and take the unit out of any dusty corner. Whether to leave batteries in is a manual question: some makers advise removing them for long storage. A hanging scale needs its hook and any fittings checked for wear before it is put away.
Bags, aprons and gloves
Follow the care label. Empty pockets, shake out debris and wash if the label allows. Dry completely before folding, because a damp bag stored in a box will smell and may mildew.
Compare brush shapes, pad types and the oil label. A small set of the right brushes covers most tools, and you can usually reuse them for years.
Step 3: Oil what needs oil
Oil protects bare metal from moisture. Use a light coat, applied to a clean dry tool, and wipe the excess off with a rag. A heavy coat is not better; it attracts dust and can transfer to whatever you handle next.
- Wipe a thin film on blades, pivots and springs. Work the shears open and closed a few times so the oil reaches the joint.
- Leave handles and grips alone unless the maker says otherwise. Some grip materials do not like oil.
- For tools that touch food, choose an oil whose label says it is suitable for food-contact use, and wipe thoroughly before the next season.
- Coated, stainless or plastic parts usually need no oil. Check the care instructions.
If a tool has light surface rust, deal with it before oiling: a fine abrasive pad and a little patience, then wipe clean. Deep pitting means the tool should be replaced rather than stored.
Step 4: Store them where they will stay dry
A clean, oiled tool in a damp shed will still rust. Winter storage is mostly about keeping moisture and mice away from your gear.
| Item | Where it should live | Watch for |
|---|---|---|
| Hand tools and snips | Hung on a wall board or kept in a tool roll or box, with blades closed and covered | Damp boxes, loose blades and tools tossed together. |
| Knives | In a sheath, a block or a rack with the edge protected | Edges against metal and hands reaching into drawers. |
| Buckets and totes | Stacked clean and dry, off the floor, out of direct sun | Heavy stacks on a bare floor that traps damp. |
| Scales | In a dry cupboard, with the platform clear, per the manual | Cold, damp rooms and unsupported weight on the platform. |
| Bags and aprons | Folded or hung in a dry place | Moisture, rodents and storage while damp. |
| Gloves | Dry, per the care label | Storing wet or stuffed in a toolbox. |
A small packet of desiccant in a toolbox is a cheap extra. Read the packet label, keep it away from food and replace or recharge it according to the maker's instructions. A tool roll or holster also keeps blades from knocking together; the bypass shears guide and harvest knife guide both describe blade protection.
Search by category and compare sizes. A used toolbox or rack in good condition is often as good as a new one, so open both searches.
Make a repair and replace list
Before you close the shed, write down everything that needs something. A short list taped inside the door is far more reliable than memory in March.
- Items to sharpen or service, and who will do it.
- Parts to order: springs, pivot bolts, replacement blades, lids.
- Items to replace, with the reason. This feeds directly into your spring shopping.
- Consumables to restock: liners, labels, markers, cleaning pads and oil.
Frequently asked questions
What order should I clean, sharpen and oil harvest tools?
Clean and dry first, sharpen if needed, then oil bare metal and store. Oil over dirt traps grime and moisture against the steel.
Do I need a special oil for harvest knives?
If a knife touches food, choose an oil whose label says it is suitable for food-contact tools, and wipe thoroughly before use. Check the knife maker's instructions.
How do I stop tools rusting in an unheated shed?
Make sure they are completely dry before storage, oil bare metal lightly, keep them off the floor and away from damp walls, and consider a desiccant packet in the toolbox.
Can I use the same cleaner on everything?
No. Plastic totes, steel blades, electronics and fabric each have their own care instructions. Read the label, and never mix cleaning products.
Should I leave batteries in scales over winter?
Check the manual. Some makers recommend removing batteries for long storage, and others do not mention it.
Sources and verification
This guide gives care steps in general terms and quotes no ratings, chemical strengths or temperatures. For anything specific, the tool maker's care instructions and the product label come first.
- Cleaning and sanitizing of containers that touch food: check the cleaner or sanitizer label and local rules.
- Scales, sealers and any electrical item: follow the manual for cleaning, storage and battery handling.